1. Protect your gear
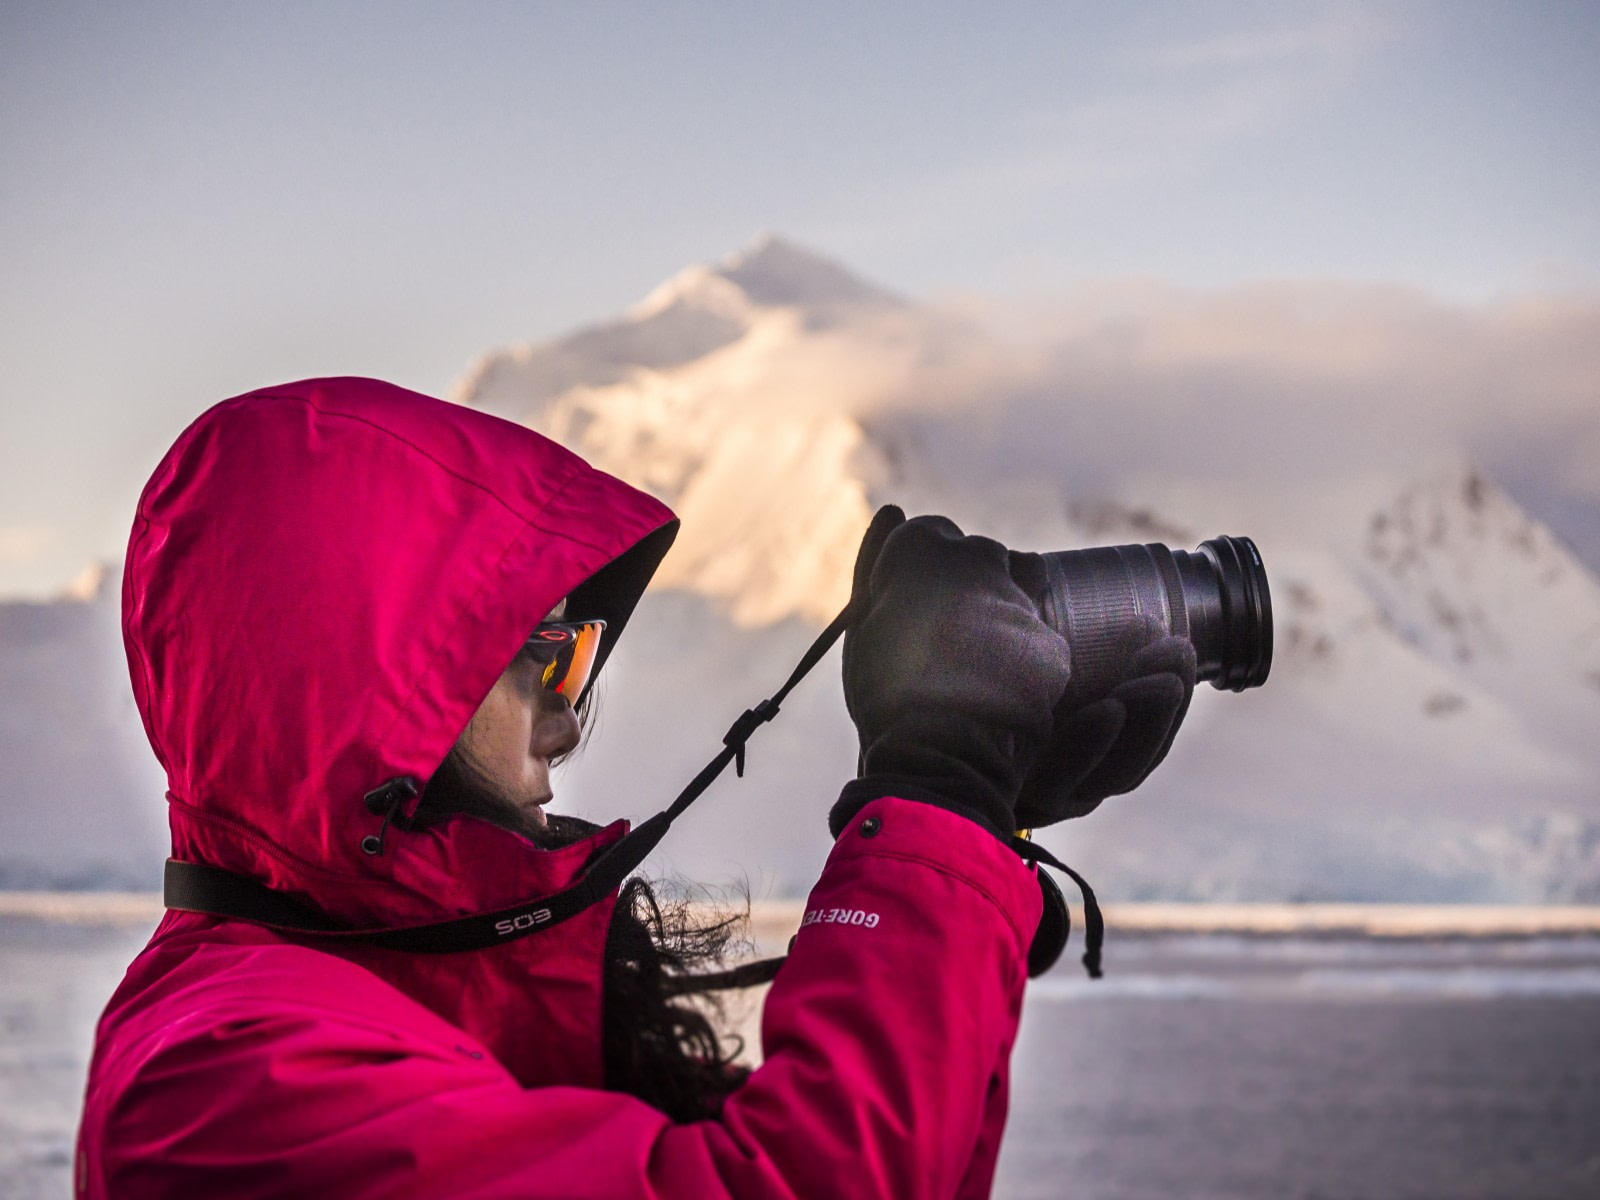
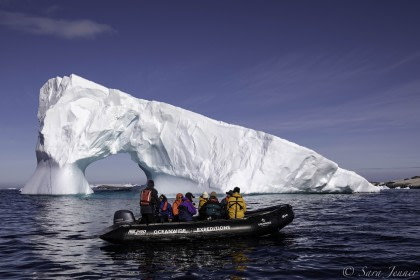
During your trip in the Arctic or Antarctic cruise you and your camera equipment will be exposed to a variety of challenging conditions. Be careful with your equipment and protect it from the salty spray when in Zodiacs, on a beach, or on deck. Salt water and electronics is not a good mix!
2. Risk of condensation
The temperature outside is much lower than inside the ship. When coming back to the ship from an excursion, you equipment will be cold and condensation will easily built up on your lenses and in your camera body. It can take a while before you can use the equipment again. You can partially avoid this by sealing your gear in a plastic bag before bringing it back to a warm environment. Use silica gel bags or other drying agents in your camera bag to avoid built up of moisture and air out your equipment when back to room temperature on the ship.
3. Batteries and memory cards
On any Oceanwide Expeditions trip there are great motives everywhere. You will take a lot more photographs than you expect so do pack plenty memory cards or perhaps an external hard disc for additional storage space. Bring an extra set of batteries. The charge on batteries tends to drop when getting cold. Having a spare battery in a warm pocket will ensure that you will not miss a unique shot.
4. Tripods
Bring a tripod and with a ball head/tilting panorama head that fits your equipment. If you have light weight equipment you can use a light weight tripod and heavier equipment with large lenses requires larger and more stable tripod. It will ensure staple conditions when shooting in low light, macro photography, or long time exposures.

5. Sunrise & sunset
Although it is unfortunately not always sunny on an Oceanwide Expeditions trip, it is good to take advantage of the quality of the light at sunrise and sunset. Ask the bridge when the sun goes up and down and be on deck to make the best of it. The light is softer and the shadows longer to add dynamics to your photograph.
6. Correct exposure in white surroundings
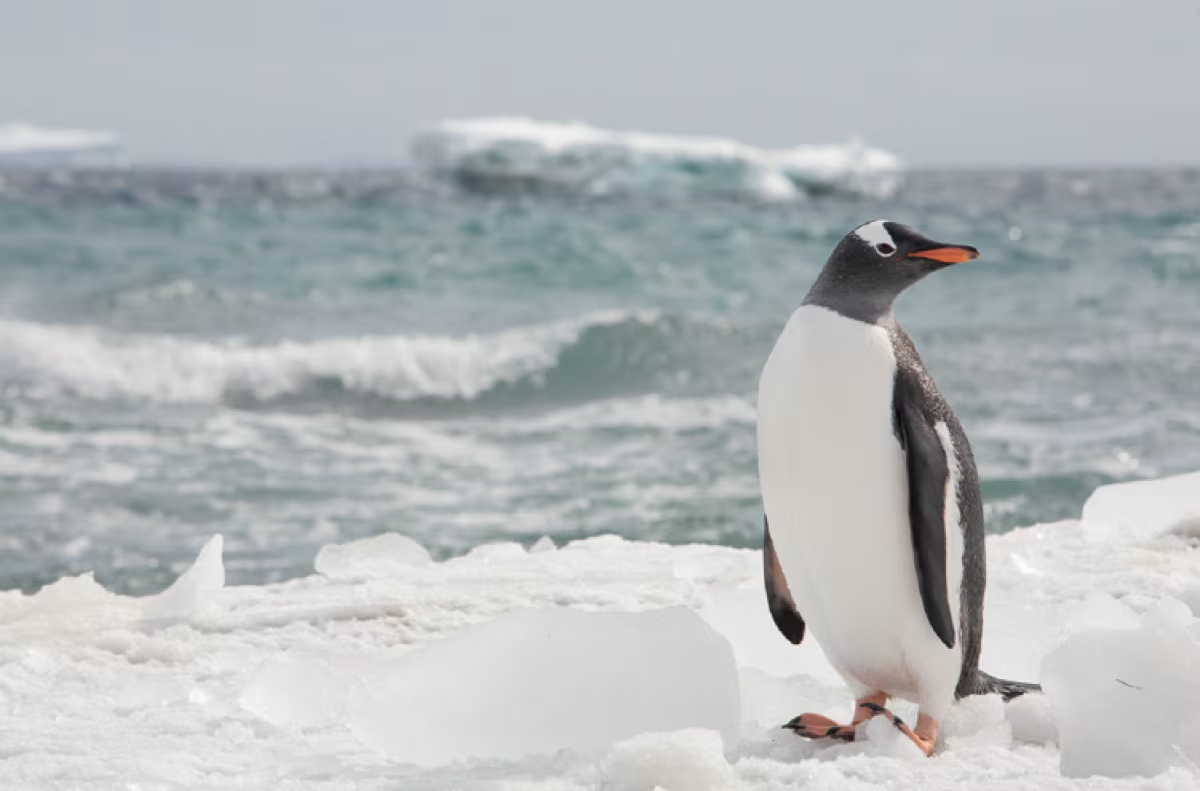
It is very hard to ensure that what is white in reality also appears truly white in your photograph. It is even harder to get white to appear as white at the same time were darker tones are not blacked out completely. Yes – it is actually difficult to photograph a penguin in bright sunlight!
If you have a point and shoot camera or an entry level DSLR, there will most likely be a “Winter”/”Snow” exposure setting. Use it and you will get a much better result than without it.
Larger DSLR cameras need more attention to this for the optimal result. Prior to your trip, get familiarized with the exposure lock function as well as the camera’s settings for spot measuring the light. If you measure the light by default settings on a white iceberg, the light meter will automatically try to adjust the shutter speed and aperture to create a neutral tone in your photograph. Neutral is not actually white but rather grey-ish. In order to compensate and force you camera’s light meter system to make white appear white you must spot meter on the whitest surface in your frame, lock the exposure and then overexpose (e.g. E.V +1 as guideline). It sounds counter-intuitive but if done correctly, the rest of the colours will fall in and give the optimal exposed photograph.
Test your equipment prior to and during the trip and test the features. You can always ask the Oceanwide Expeditions photo guide to help you. During the day, do NOT forget to reset your settings to default very often! Or else you will have a lot of overexposed pictures. Regularly review your pictures on the camera to double check.
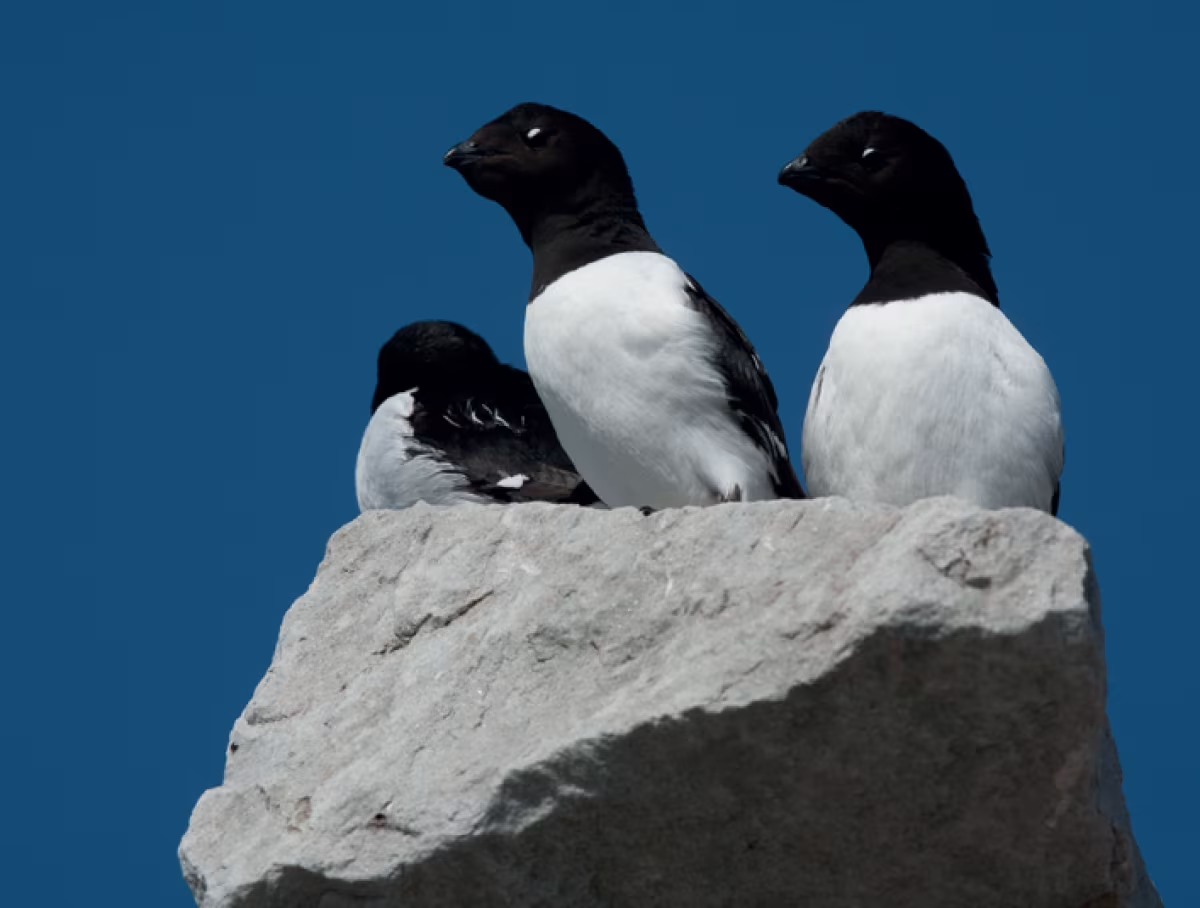
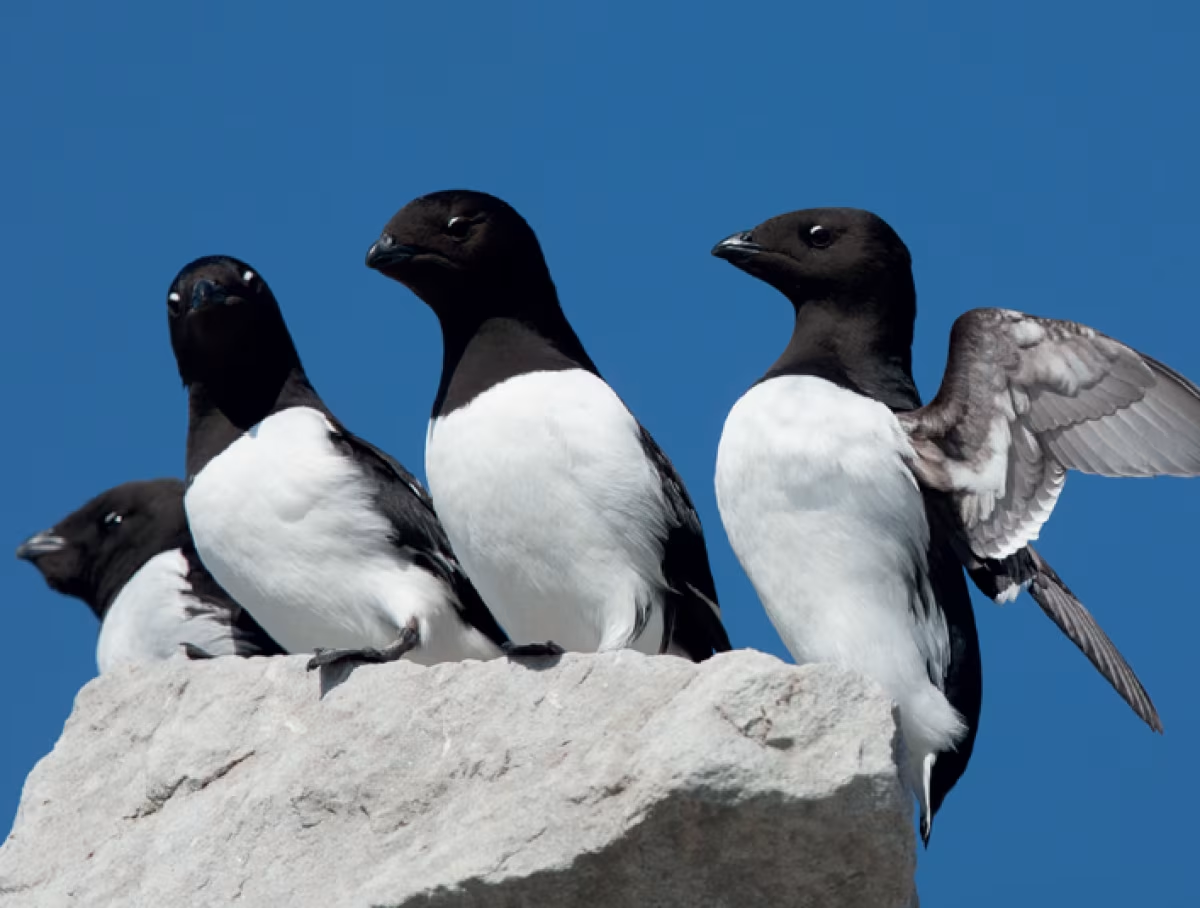
7. Portrait or landscape format
The horizontal landscape format is most similar to how humans see the world. It is the “normal” format. The landscape format is ideal for photographing landscapes and reflects expansion and depth. The vertical portrait format however, conflicts with how we normally see the world. It offers a more dynamic and close-up approach. Try and vary your photographs of wildlife with both formats to get the best result.
8. The rule of thirds
Placing your primary subject in the centre of the photograph may well make it rather dull and appear less interesting for the viewer. Imagine you split up your frame in thirds with imaginary lines. Put your subject on either of those lines and you will have a much more appealing image. Try and avoid splitting the image into halves by placing a horizon in the middle but rather near the lower or upper third of the frame emphasising the expanse of the background or the foreground respectively. Take care that your focus is correct when using the rule of thirds.
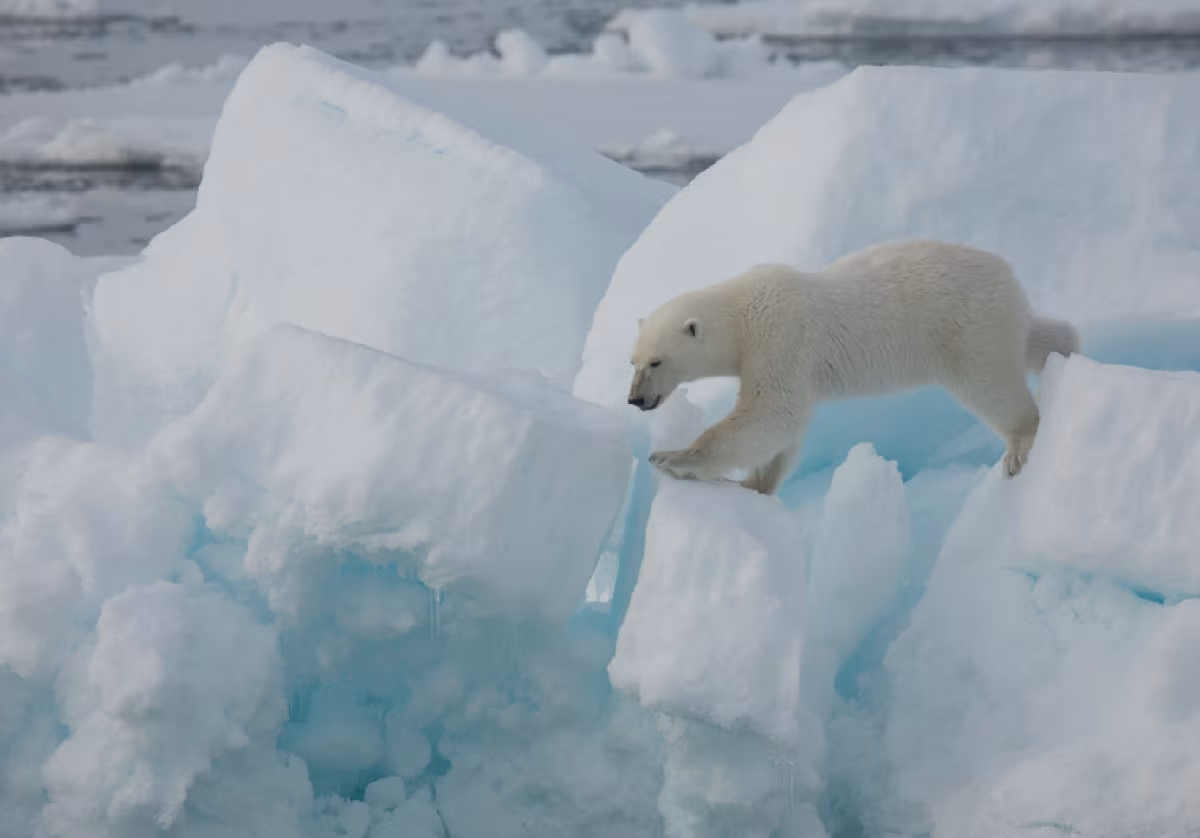
9. Side lighting and back lighting
Highlighting a light source coming from the side can create a sense of depth rather than a flat image. Also think about the effect the shadows give when trying to apply depth to your photograph. In a similar way back lighting can create some fantastic effects. However, it requires careful light metering depending on the desired result.
10. Eye level photography
When photographing wildlife shoot at eye level and not downwards. Eye to eye gives a much more appealing and natural photograph.
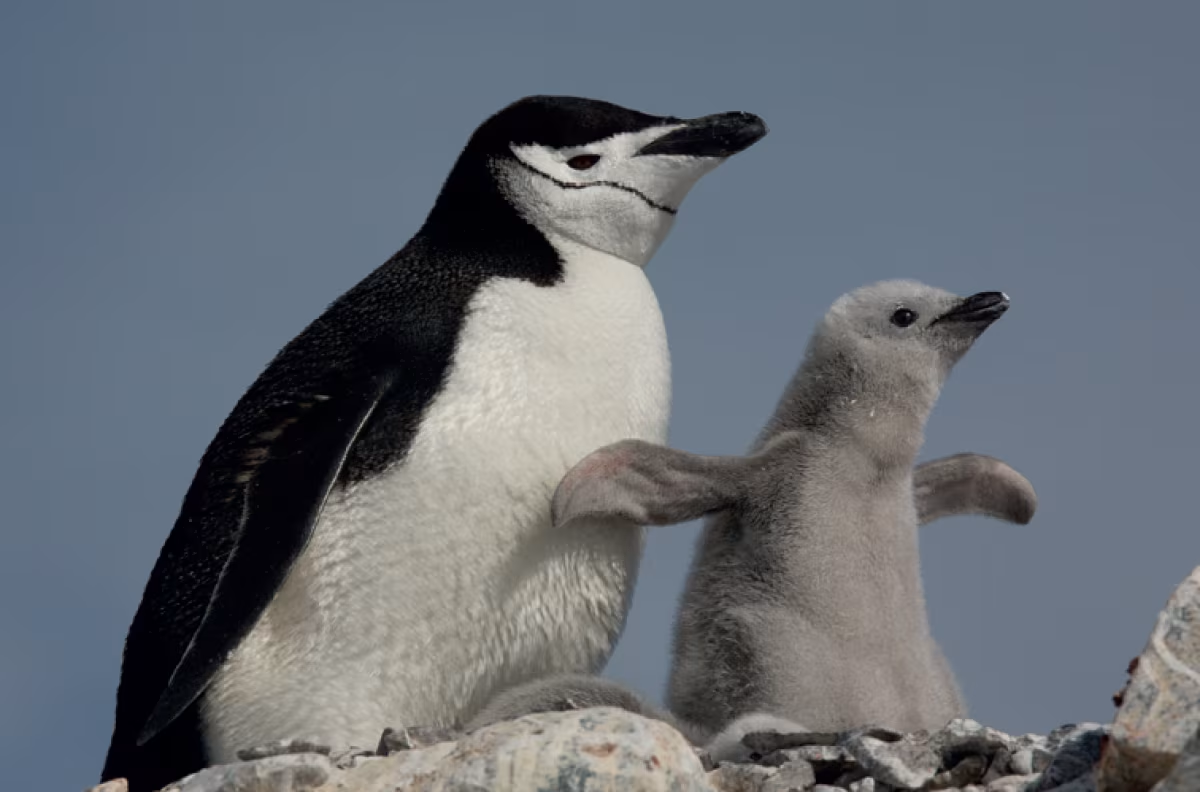
11. Detailed shots
Do not always shoot very wide or very close up, but take a frame of the scene to allow the view to explore more details. Use a moderate telephoto lens for this purpose.
12. Switch off the flash!
Flash photography is not often a good idea when photographing wildlife. It is hard to control the light correctly and it may well disturb the animal you are photographing. Smaller point and shoot cameras automatically switches on the flash when at low light but it will not reach very far and render useless for distances of more than a few meters. All it creates is annoyance with your fellow travellers. Make sure the flash is off and use a tripod and night mode/long time exposure instead.
Bonus photo tips by a professional nature photographer
All the photography tips in this blog will help you take the best possible photos during your Arctic or Antarctic trip, but that does not mean they are the only tips under the sun. If you’re looking to advance your photography skills even further, don’t miss this fascinating video of expert photographer and expedition guide Sara Jenner’s polar-specific photo tips.
